Uncategorized
Fix Wet Drywall Secrets Revealed: What Orange County Contractors Don’t Want You to Know

Nov
Water damage strikes Orange County homes without warning. Whether it’s from winter storms, pipe bursts, or roof leaks, wet drywall repair can cost homeowners thousands when contractors get involved. But here’s what they don’t want you to know: most water-damaged drywall repairs are completely doable yourself with the right techniques.
Professional contractors charge premium rates for knowledge you can learn and apply. In this comprehensive guide, we’ll reveal the insider techniques, professional-grade methods, and cost-saving secrets that can help you tackle wet drywall repairs like a pro.
I. The Real Assessment Process Contractors Use
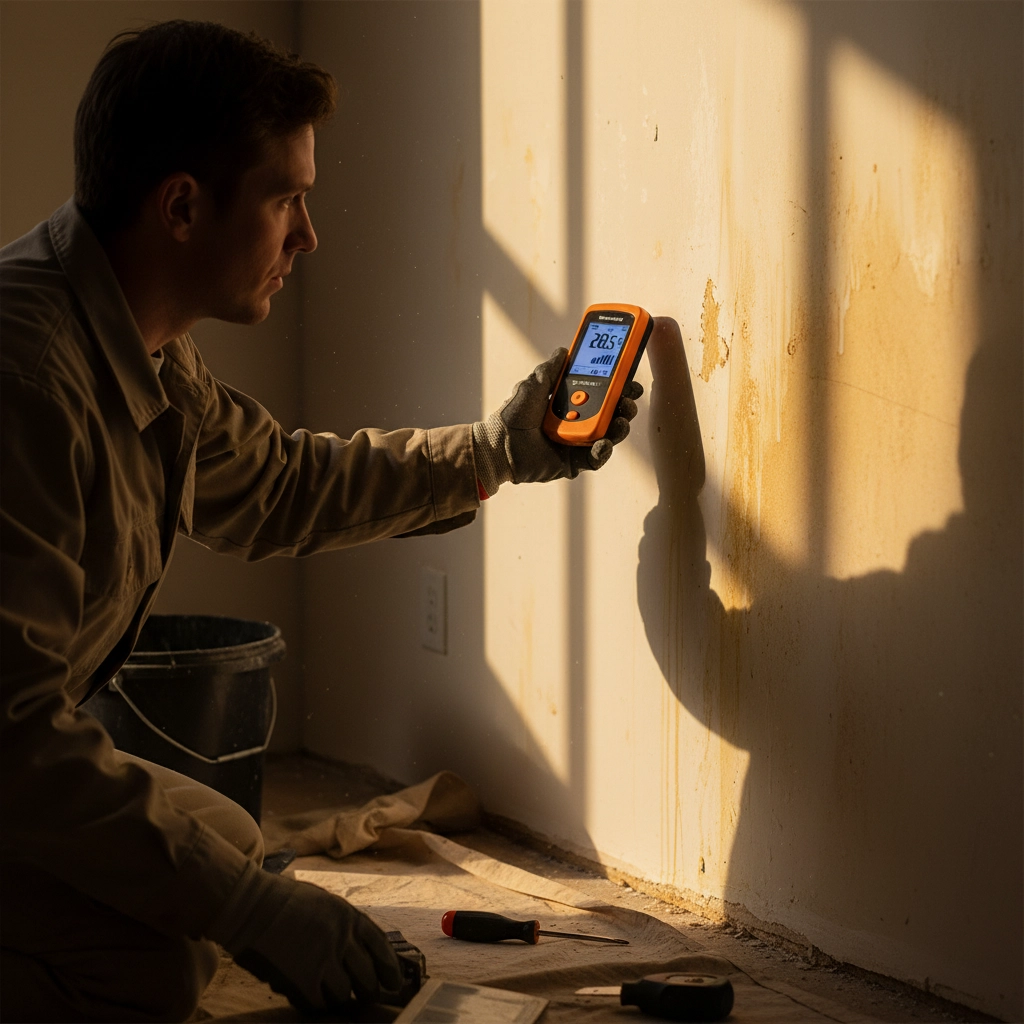
Before any contractor touches your walls, they perform a detailed assessment that takes 15-30 minutes. This is billable time you can eliminate by doing it yourself.
Start by identifying the water source completely. Check for roof leaks, plumbing issues, window seals, and HVAC problems. Use a moisture meter (available for $20-30 at hardware stores) to measure moisture content in surrounding areas. Professional contractors know that visible damage represents only 60-70% of actual water penetration.
Next, probe gently with a screwdriver to find soft spots indicating deeper saturation. Mark areas that crumble easily or show discoloration. The professional secret: always extend your damage assessment at least 6 inches beyond visible signs. This prevents callback repairs that contractors love charging for.
Check insulation behind damaged areas. If it’s wet, replacement is non-negotiable to prevent mold growth. Examine wooden studs for moisture and structural integrity. Any soft or warped wood needs complete drying before repairs begin.
II. Professional Drying Techniques That Save Money
Contractors often charge hourly rates for “monitoring” the drying process. You can manage this yourself with proper equipment and patience.
Set up continuous fan operation using high-velocity fans positioned to create cross-ventilation. Add dehumidifiers to pull moisture from the air. Professional contractors know the magic number: humidity levels below 50% prevent mold growth during repairs.
The drying timeline depends on water volume, humidity, and temperature. Contractors typically wait 24-72 hours minimum, testing moisture levels every 12 hours. Don’t rush this phase – premature repairs lead to mold, odors, and structural problems that cost far more than patient drying.
III. The California Patch Method Revealed
Orange County contractors frequently use the California patch technique for holes up to 7×7 inches, despite myths that it only works for 4×4 inch damage. This method costs contractors about $15 in materials but they charge $150-300 for labor.
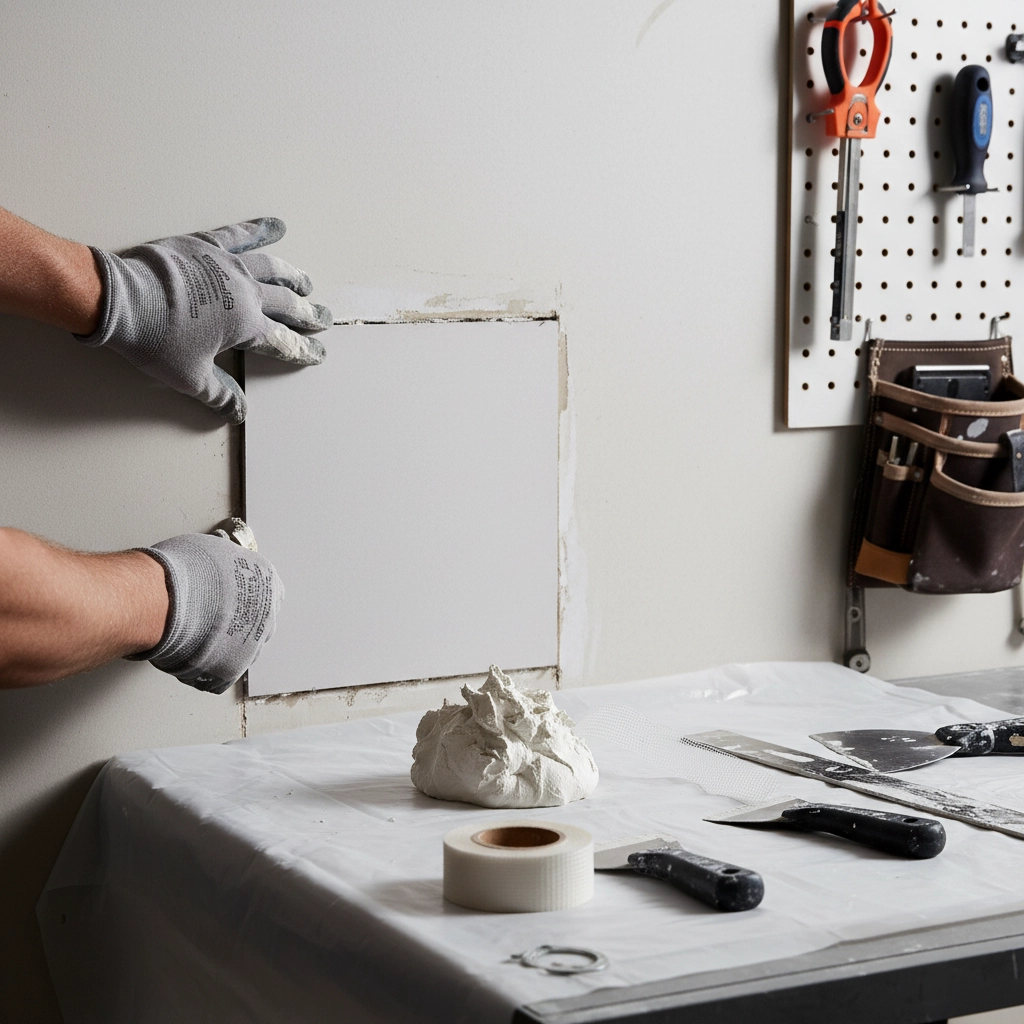
Cut a piece of new drywall slightly smaller than your damaged area. The critical professional secret: leave 1/8 to 1/4 inch gap around all edges. This gap gets filled with joint compound, creating a stronger bond than tight-fitting patches.
Apply mesh tape around the patch perimeter, then fill gaps generously with joint compound. The amateur mistake is using too little compound behind the patch. Professional contractors know that adequate backing compound prevents future cracking and failure.
IV. Advanced Mud and Tape Techniques
Joint compound application separates professional results from amateur attempts. Contractors use specific techniques that create seamless, long-lasting repairs.
First coat application: Apply compound with a 6-inch taping knife, pressing firmly to eliminate air bubbles. The professional secret is feathering – gradually thinning compound edges to blend with existing drywall texture.
Second coat strategy: After 24-hour drying, apply a wider coat using an 8-10 inch knife. Extend compound 2-3 inches beyond first coat edges. This creates the smooth transition that makes repairs invisible.
Final coat perfection: Use a 12-inch knife for the final application, feathering edges 4-6 inches beyond previous coats. Professional contractors sand between coats using 120-grit sandpaper, creating perfectly smooth surfaces.
V. Cutting and Removal Secrets
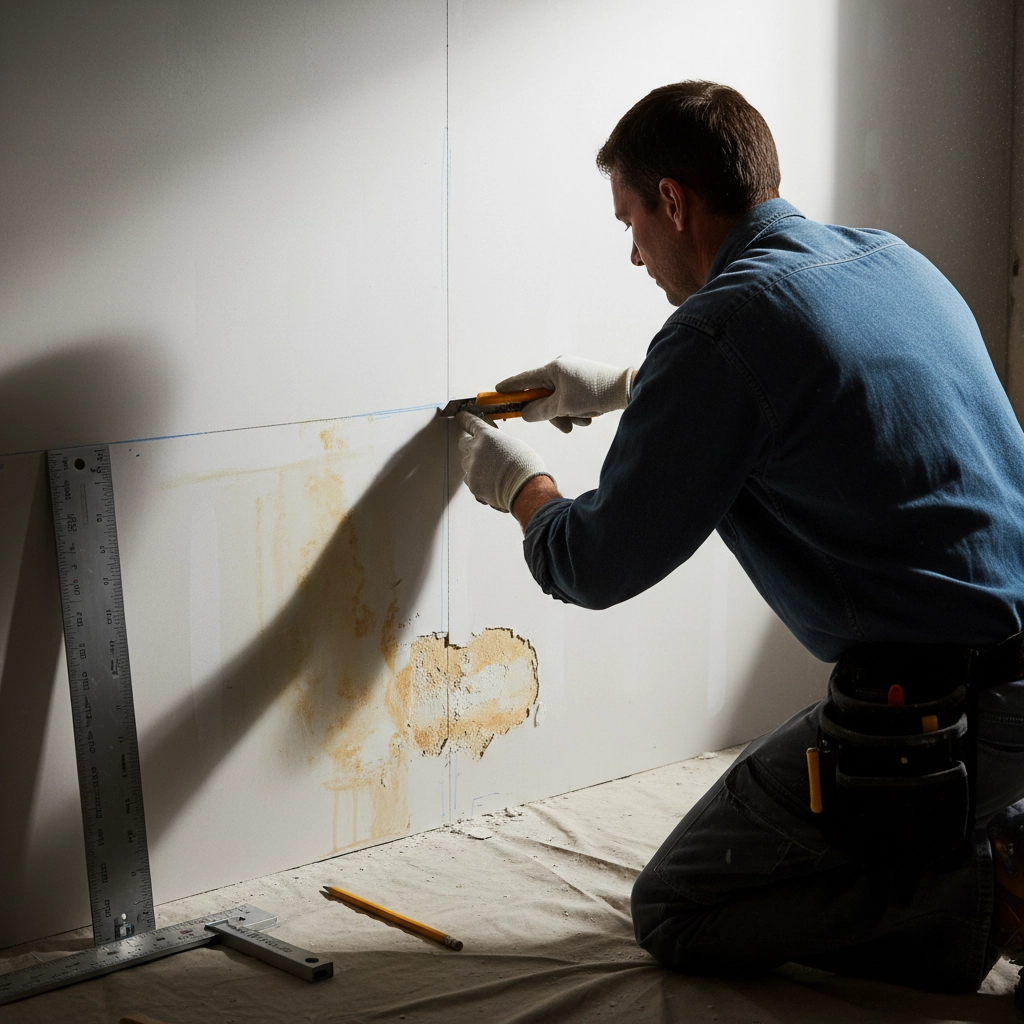
Contractors make precise cuts that minimize surrounding damage. Use a sharp utility knife with a new blade for every project. Score drywall paper on both sides before breaking for clean edges.
The professional technique for removing damaged sections: cut in manageable pieces rather than attempting large removals. This prevents accidental damage to good drywall and makes disposal easier.
When cutting around electrical outlets or fixtures, turn off power at the breaker. Use a keyhole saw for precise cuts around obstacles. Professional contractors always cut square or rectangular shapes – irregular cuts are harder to patch effectively.
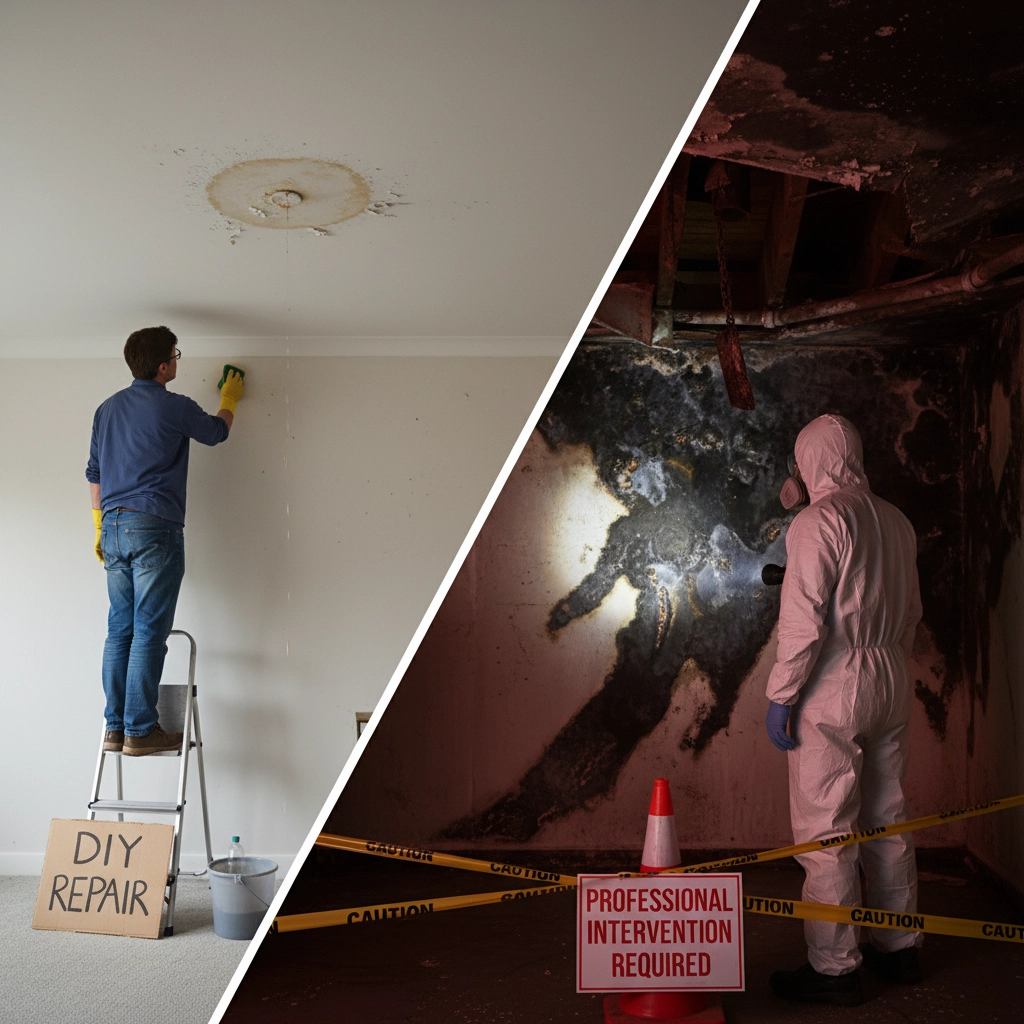
VI. When DIY Becomes Dangerous
Despite contractor preferences for larger jobs, some situations require professional intervention. Mold coverage exceeding 10 square feet needs professional remediation due to health risks and specialized equipment requirements.
Structural damage beyond drywall – sagging ceilings, compromised framing, or foundation issues – requires licensed contractors. Electrical damage from water infiltration needs immediate professional electrical assessment.
Insurance claim scenarios often require contractor involvement for proper documentation and code compliance. However, understanding repair processes helps you communicate effectively with contractors and avoid unnecessary charges.
VII. Cost-Saving Material Selection
Professional contractors markup materials 20-40% above retail costs. Buy your own materials for significant savings on larger projects.
For patches under 12 inches: Use mesh patches with compound ($8-12 total cost)
For larger areas: Purchase drywall sheets, joint compound, tape, and primer ($25-40 for typical repairs)
Essential tools: Taping knives (6, 8, 12-inch), utility knife, sandpaper, drop cloths ($60-80 one-time investment)
Professional-grade joint compound dries harder and sands smoother than budget options. USG Sheetrock or similar brands provide contractor-quality results for DIY applications.
VIII. Quality Control and Finishing
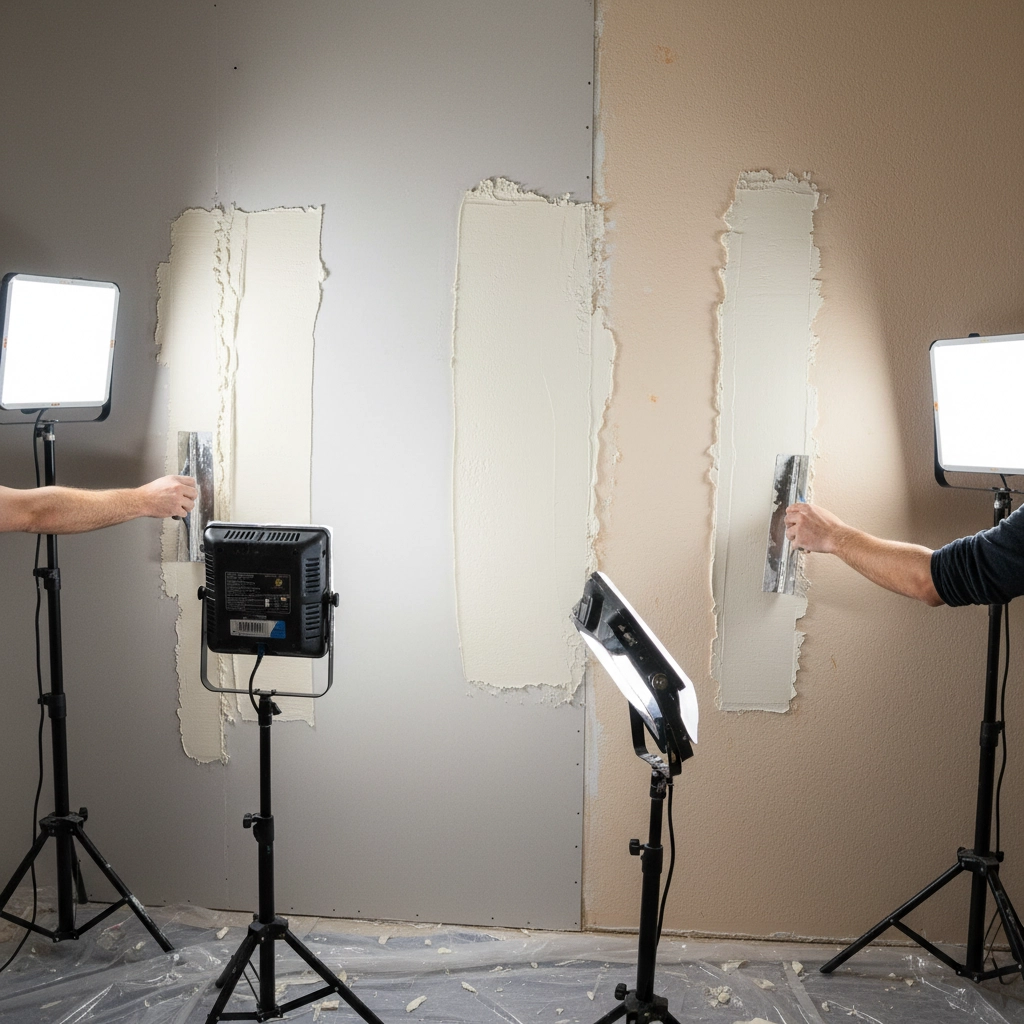
Professional contractors inspect repairs under different lighting conditions before calling jobs complete. Use a bright work light held at various angles to identify imperfections invisible under room lighting.
Sand final coats with 220-grit sandpaper for smooth painting surfaces. Prime all repaired areas with high-quality primer before applying finish paint. Mismatched textures become obvious after painting – practice texture matching on scrap drywall first.
The professional secret for perfect paint matching: bring paint samples to repair sites under natural lighting before purchasing. Orange County’s bright sunlight reveals color variations invisible under store lighting.
IX. Long-Term Prevention Strategies
Smart contractors recommend prevention measures that reduce future callback opportunities. Install moisture barriers in high-humidity areas like bathrooms and kitchens.
Check roof gutters, window seals, and plumbing annually. Small leaks become major drywall damage without early intervention. Consider whole-house dehumidification in naturally humid areas.
Professional contractors know that proper ventilation prevents 80% of moisture problems. Ensure bathroom and kitchen fans vent outside, not into attics or crawl spaces.
Conclusion
These professional techniques and insider secrets can save Orange County homeowners hundreds or thousands on water damage repairs. Most wet drywall fixes are within DIY capabilities when you understand proper assessment, drying, cutting, and finishing techniques.
The key is patience, proper materials, and following professional methods exactly. When in doubt about structural integrity, electrical safety, or extensive mold, consult qualified professionals. But for typical water damage scenarios, you now have the knowledge contractors use to deliver professional-quality repairs.
Remember: the biggest secret contractors don’t want you to know is that you’re more capable than you think. With proper preparation and technique, your DIY repairs can match professional quality while saving significant money for your Orange County property.