Uncategorized
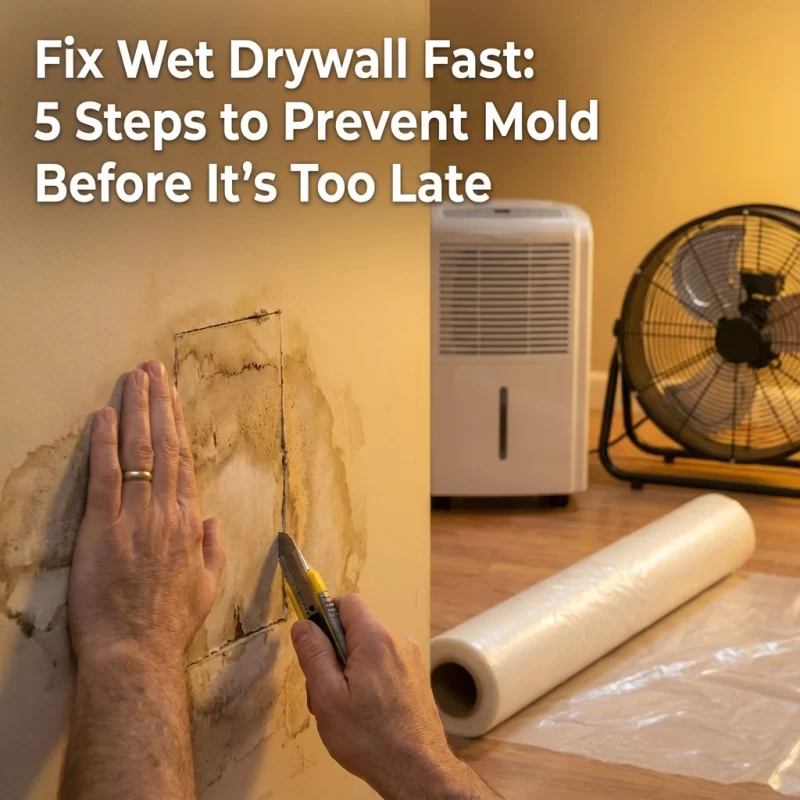
Fix Wet Drywall Fast: 5 Steps to Prevent Mold Before It’s Too Late
Jan
When water damage strikes your drywall, you’re racing against the clock. Mold can begin growing within 24 to 48 hours of moisture exposure, transforming what could be a straightforward repair into a costly remediation nightmare. Whether you’re dealing with a burst pipe, roof leak, or flooding, understanding how to respond quickly and effectively can save you thousands of dollars and protect your family’s health.
In this comprehensive guide, we’ll walk you through the essential steps to address wet drywall damage before mold takes hold. You’ll learn how to assess the severity of damage, implement rapid drying techniques, and determine when professional intervention is necessary. By the end of this article, you’ll be equipped with the knowledge to make informed decisions about your water-damaged drywall and take decisive action to prevent long-term complications.
Time is your most critical resource in these situations. The faster you act, the better your chances of salvaging your drywall and avoiding extensive mold remediation. Let’s dive into the five crucial steps that will help you tackle wet drywall damage effectively.
Step I: Identify and Eliminate the Water Source
Before you can begin any repair work, it’s essential to locate and stop the source of water intrusion. This fundamental step prevents ongoing damage and ensures your repair efforts won’t be undermined by continued moisture exposure.
Start by conducting a thorough inspection of the affected area. Look for obvious signs like burst pipes, leaking fixtures, or damaged roofing. Check behind appliances, under sinks, and around windows where leaks commonly occur. Don’t overlook less obvious sources such as condensation from HVAC systems or ice dam formation on roofs.
Once you’ve identified the source, take immediate action to stop the water flow. This might involve shutting off the main water supply, covering roof damage with tarps, or calling emergency repair services. Remember, attempting any drywall restoration while water continues to enter the space is counterproductive and wasteful.

Document the damage with photographs before making repairs. This documentation will be valuable for insurance claims and helps you track the extent of the problem. Take pictures of both the water source and the affected drywall areas from multiple angles.
Step II: Assess the Severity of Drywall Damage
Not all water-damaged drywall requires complete replacement. Learning to accurately assess damage severity will help you determine the most appropriate course of action and avoid unnecessary expenses.
Examine the affected drywall carefully for these warning signs:
Surface-level damage indicators include minor discoloration, light water stains, and slight texture changes. These issues may be addressable through drying and cosmetic repair if caught early.
Moderate damage signs encompass more extensive discoloration, paint peeling or bubbling, and slight softness when pressed. This level of damage often requires partial replacement or professional assessment.
Severe damage indicators include drywall that feels spongy or crumbles when touched, significant sagging (especially in ceilings), visible mold growth, and persistent musty odors. Severely damaged drywall must be completely removed and replaced.
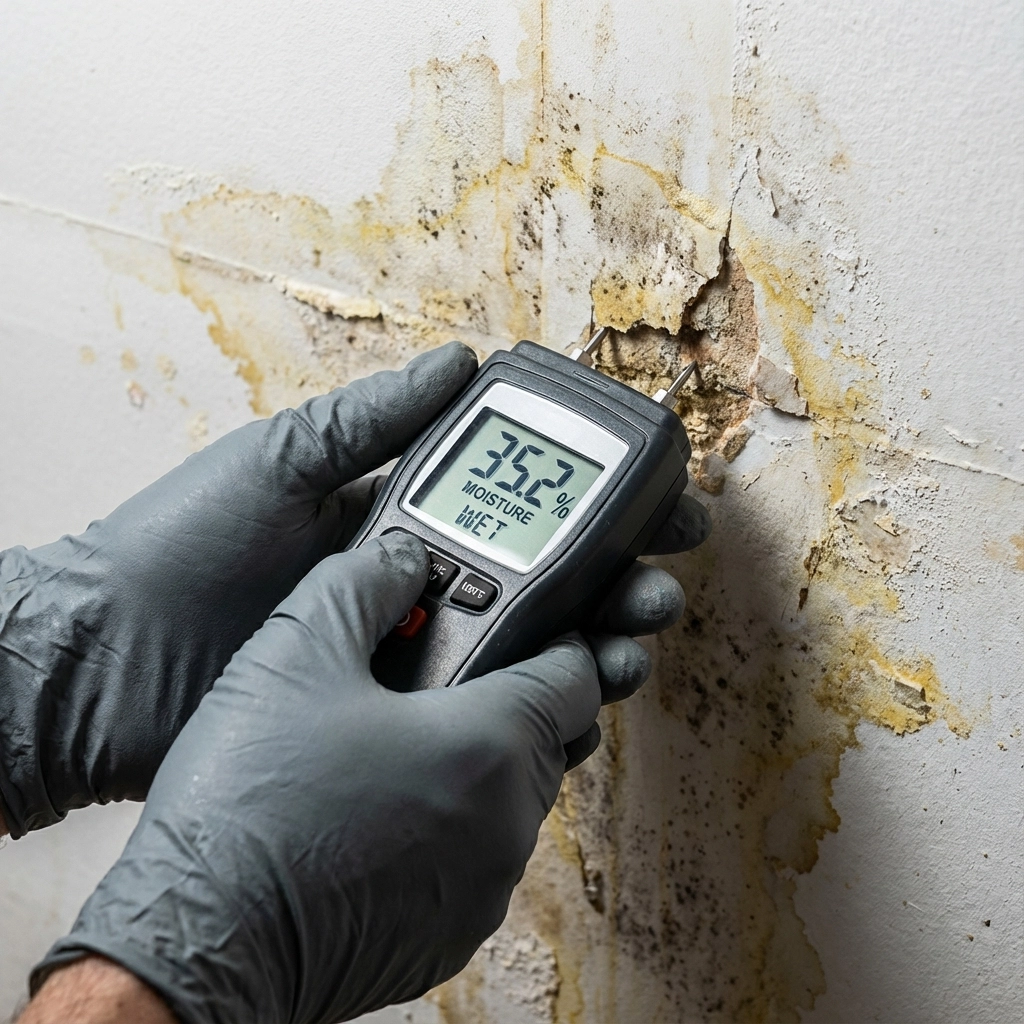
Use a moisture meter to detect hidden moisture behind seemingly dry surfaces. These inexpensive tools can reveal trapped water that could lead to mold growth even after visible areas appear dry. Pay particular attention to areas near the floor, behind baseboards, and around electrical outlets where moisture tends to accumulate.
Step III: Implement Rapid Drying Techniques
This is your most critical window for preventing mold growth. You have approximately 48 hours to remove moisture completely before mold spores begin establishing colonies in your drywall.
Begin by removing any standing water using wet-dry vacuums, pumps, or buckets. Work systematically from the highest concentration of water toward drier areas to prevent spreading contamination.
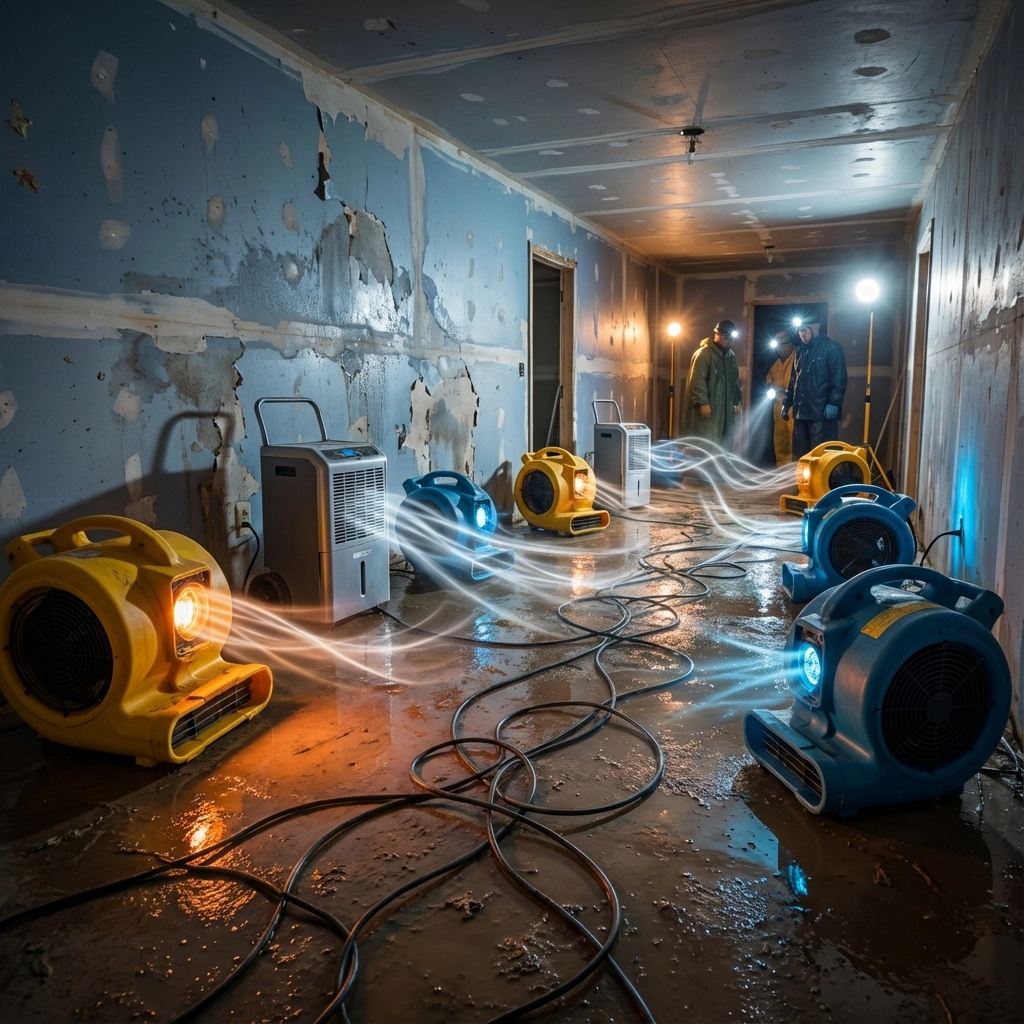
Set up high-velocity fans and dehumidifiers strategically throughout the affected space. Position fans to create cross-ventilation that promotes air circulation behind and around damaged drywall. Industrial-grade equipment may be necessary for severe water damage – these can often be rented from hardware stores or restoration suppliers.
Create optimal drying conditions by maintaining indoor temperatures between 70-80°F and humidity levels below 50%. Open windows and doors when outdoor conditions are favorable, but avoid this approach during humid weather that could introduce additional moisture.
Remove wet carpeting, padding, and furniture from the affected area to prevent these materials from slowing the drying process. Wet materials can re-introduce moisture into the air and surrounding surfaces.
Monitor progress using moisture meters and continue mechanical drying for 3 to 5 days minimum, or until readings indicate complete dryness. Don’t rush this process – trapped moisture will inevitably lead to mold problems later.
Step IV: Address Insulation and Apply Preventive Treatments
Wet insulation poses as significant a threat as damaged drywall because it retains moisture against wooden framing members, promoting rot and providing ideal conditions for mold growth.
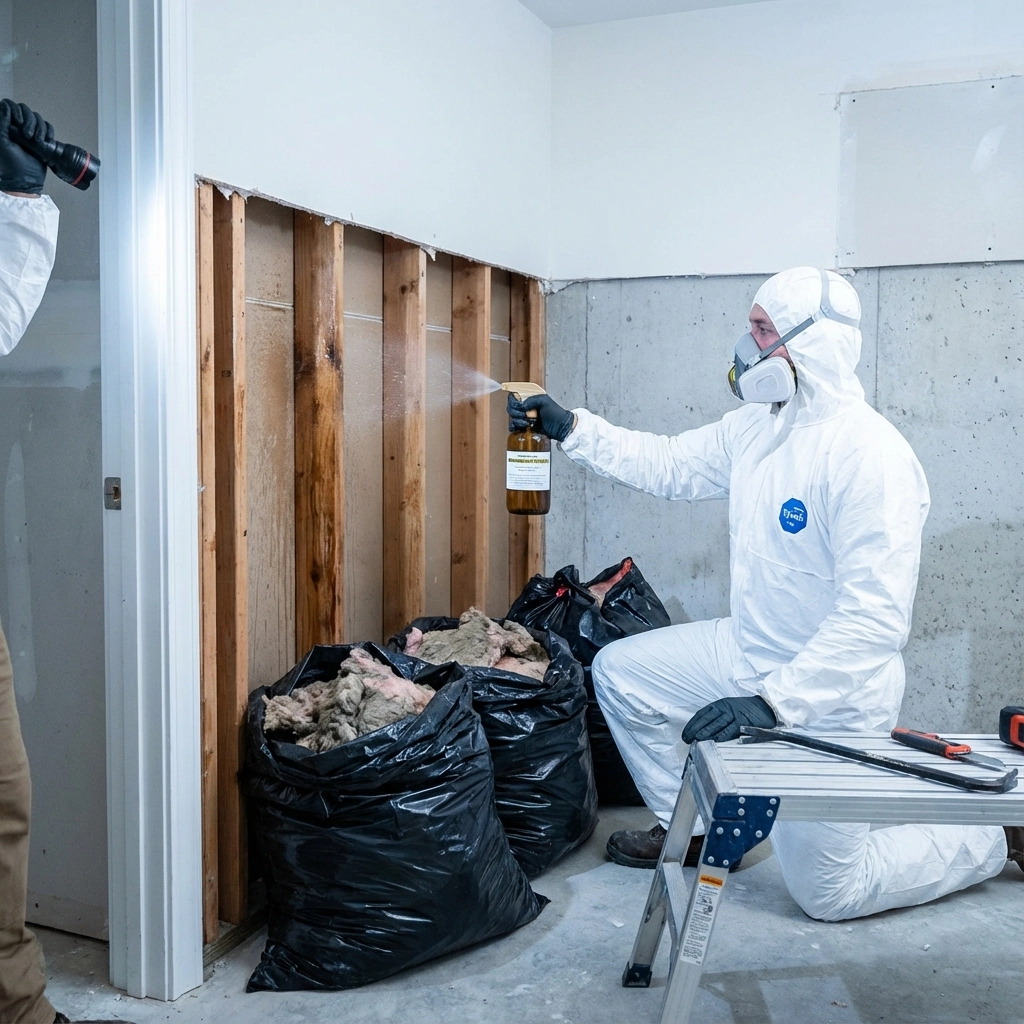
Carefully remove any water-damaged insulation from wall and ceiling cavities. Wet insulation cannot be effectively dried in place and must be completely replaced. Wear appropriate protective equipment including gloves, eye protection, and respiratory masks when handling potentially contaminated materials.
Inspect exposed framing members for signs of moisture damage or early mold growth. Use moisture meters to ensure wooden studs and joists are completely dry before proceeding with restoration.
If moisture has been present for more than 24-48 hours, assume there’s elevated mold risk and treat accordingly. Apply commercial antimicrobial treatments specifically designed for construction materials to all exposed surfaces. These treatments help eliminate existing mold spores and provide some protection against future growth.
Focus treatment efforts on areas where moisture may have penetrated deeper into materials – corners, joints, and anywhere different building materials meet. Allow antimicrobial treatments to work according to manufacturer specifications before proceeding with restoration.
Step V: Replace Materials and Restore Properly
Once you’ve confirmed complete dryness and applied appropriate treatments, it’s time to restore the damaged area using moisture-resistant materials and techniques.
Begin by installing new insulation that matches the R-value of your climate zone requirements. Choose insulation materials appropriate for your specific situation – some areas may benefit from moisture-resistant or mold-resistant products.
Cut replacement drywall pieces to fit precisely, leaving small gaps at floor level for ventilation. Use moisture-resistant drywall in areas prone to humidity or future water exposure. These products contain additives that resist moisture absorption and mold growth.
Apply drywall tape around all seams and spread joint compound evenly using appropriate tools. Allow each coat to dry completely before applying subsequent layers. Most repairs require two to three coats of joint compound, with light sanding between applications to achieve smooth, professional results.
Prime all new drywall surfaces with a high-quality stain-blocking primer designed to seal surfaces and prevent bleed-through of any remaining stains. This step is crucial for achieving uniform paint coverage and preventing future staining issues.
Finish with moisture-resistant paint formulated for areas exposed to humidity. These paints contain mold inhibitors and create a barrier that helps prevent future moisture penetration.
When to Call Professional Restoration Services
While many homeowners can handle minor water damage repairs, certain situations require professional intervention to ensure safety and proper restoration.
Contact professional restoration services immediately if you encounter extensive water damage covering more than 10 square feet, sewage or contaminated water exposure, structural damage to framing members, electrical hazards in flooded areas, or visible mold growth that covers significant areas.
Professionals have access to specialized equipment like thermal imaging cameras, commercial-grade drying equipment, and professional-strength antimicrobial treatments that aren’t available to consumers. They also understand building codes and safety requirements that ensure repairs meet current standards.
Frequently Asked Questions
How quickly does mold grow in wet drywall?
Mold can begin growing within 24-48 hours under ideal conditions. Temperature, humidity, and nutrient availability all influence growth rates, but it’s safest to assume you have less than two days to prevent establishment.
Can I paint over water-stained drywall?
Never paint directly over water stains without proper preparation. Stains will bleed through standard paint and may indicate underlying moisture problems. Always use stain-blocking primer first and ensure complete dryness.
Is it safe to dry wet drywall with heat?
Avoid using direct heat sources like space heaters or hair dryers, which can cause rapid moisture movement and potentially damage drywall paper facing. Use fans and dehumidifiers for controlled, even drying.
How do I know if mold is growing inside walls?
Signs include persistent musty odors, unexplained allergic reactions, visible mold growth around outlets or baseboards, and moisture meter readings that remain high despite visible dryness.
Protect Your Investment with Quick Action
Addressing wet drywall damage quickly and thoroughly is essential for protecting your property value and your family’s health. The five steps outlined in this guide provide a comprehensive approach to managing water damage before it becomes a major problem.
Remember that time is your most valuable resource when dealing with water-damaged building materials. The faster you can identify problems, stop water sources, and begin drying procedures, the better your chances of avoiding costly mold remediation and extensive reconstruction.
When in doubt, don’t hesitate to consult with professional restoration specialists who can assess your specific situation and recommend the most appropriate course of action. At The Drywall Patch Guys, we understand the urgency of water damage situations and are equipped to help you restore your property quickly and effectively.
Your proactive response today can save you thousands of dollars and countless headaches in the future. Take action immediately when you discover wet drywall – your property and peace of mind depend on it.