Uncategorized
Are You Making These Common Drywall Installation Mistakes? Los Angeles Contractors Reveal the Truth

Dec
Drywall installation looks simple enough – just hang some panels on the wall and you’re done, right? Wrong. Even experienced contractors in Los Angeles see the same drywall installation mistakes happening over and over again. These errors cost homeowners thousands of dollars in repairs and lead to frustrating delays in construction projects.
Whether you’re a DIY enthusiast tackling your first home renovation or a property manager overseeing multiple projects, understanding these common pitfalls will save you time, money, and headaches. In this comprehensive guide, we’ll walk you through the most frequent drywall mistakes that even seasoned professionals encounter, and more importantly, how to avoid them.
By the end of this article, you’ll be equipped with the knowledge to spot potential problems before they become expensive disasters. Let’s dive into what Los Angeles contractors wish every homeowner knew about proper drywall installation.
I. Critical Planning and Preparation Mistakes
Skipping the Measurement Phase
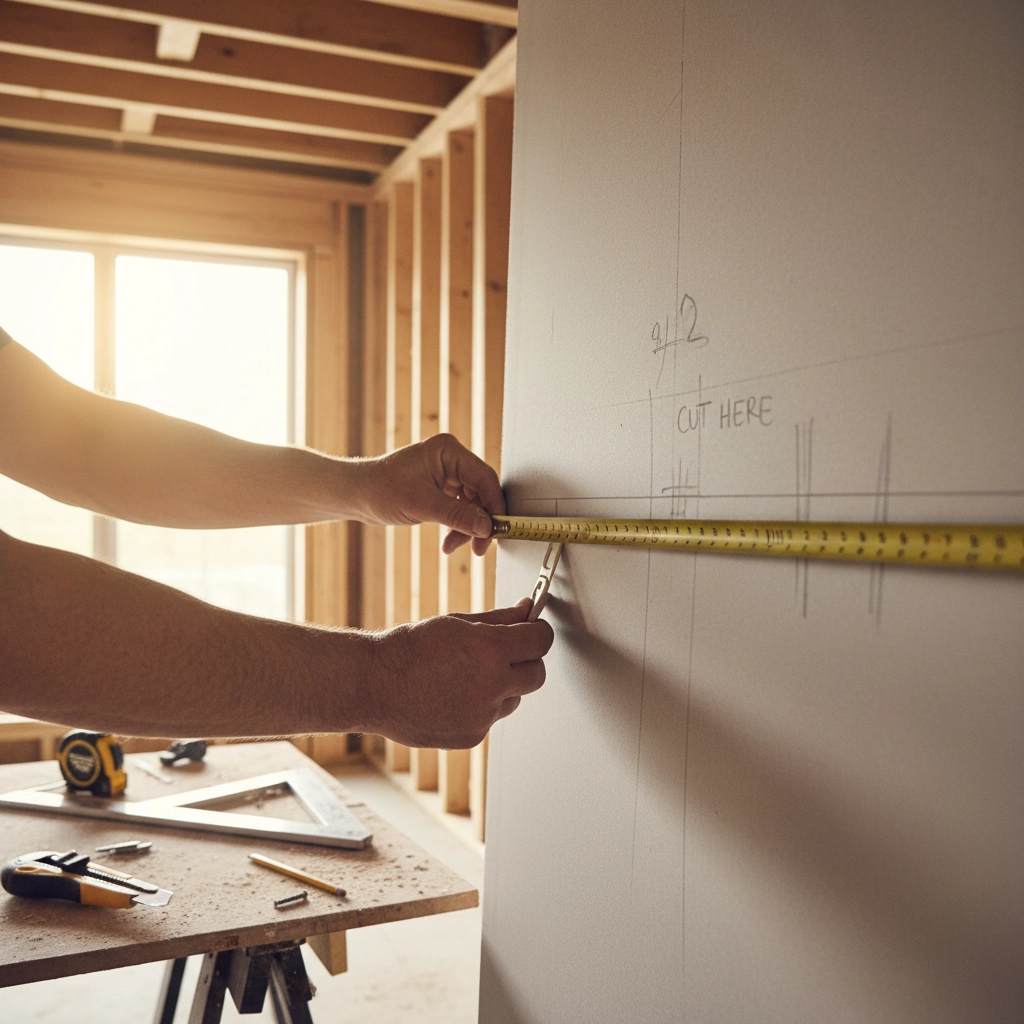
The foundation of any successful drywall project starts with accurate measurements. Measurement errors account for approximately 15% of all installation issues and result in significant material waste. When you cut drywall sheets too small, you create gaps that are nearly impossible to finish professionally. Cut them too large, and you’re wasting expensive materials while struggling with fitting challenges.
Always use a reliable measuring tape and pencil to mark your cuts before making them. Double-check your measurements, and remember the old carpenter’s saying: “measure twice, cut once.” This simple step prevents the frustration of discovering your carefully cut piece doesn’t fit properly.
Choosing the Wrong Drywall Type
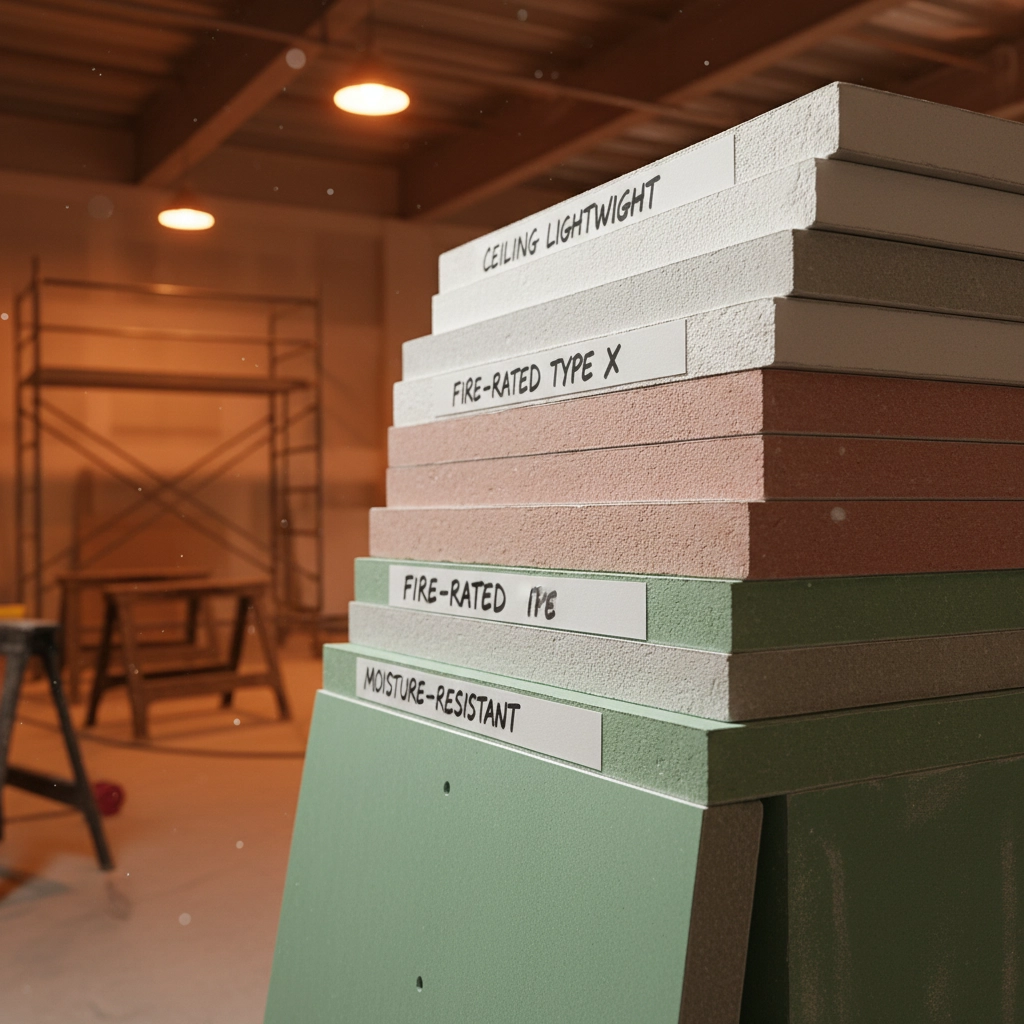
Not all drywall serves the same purpose, yet many people grab whatever’s available at the hardware store. Moisture-resistant drywall is essential for bathrooms and kitchens, while fire-rated materials are required for garages and certain commercial applications. Using standard drywall in a bathroom will lead to mold growth and structural damage within months.
For ceiling installations, lightweight drywall panels prevent sagging that commonly occurs with standard heavy drywall. This mistake alone can cause your ceiling to bow and crack, requiring complete replacement.
Forgetting the Acclimation Process
Drywall needs time to adjust to your room’s temperature and humidity before installation. Skipping this acclimation process leads to expansion and contraction problems after the project is complete. Bring your drywall panels into the room at least 24 hours before installation, especially during extreme weather conditions.
II. Installation Technique Mistakes That Cost You
Improper Fastening Methods
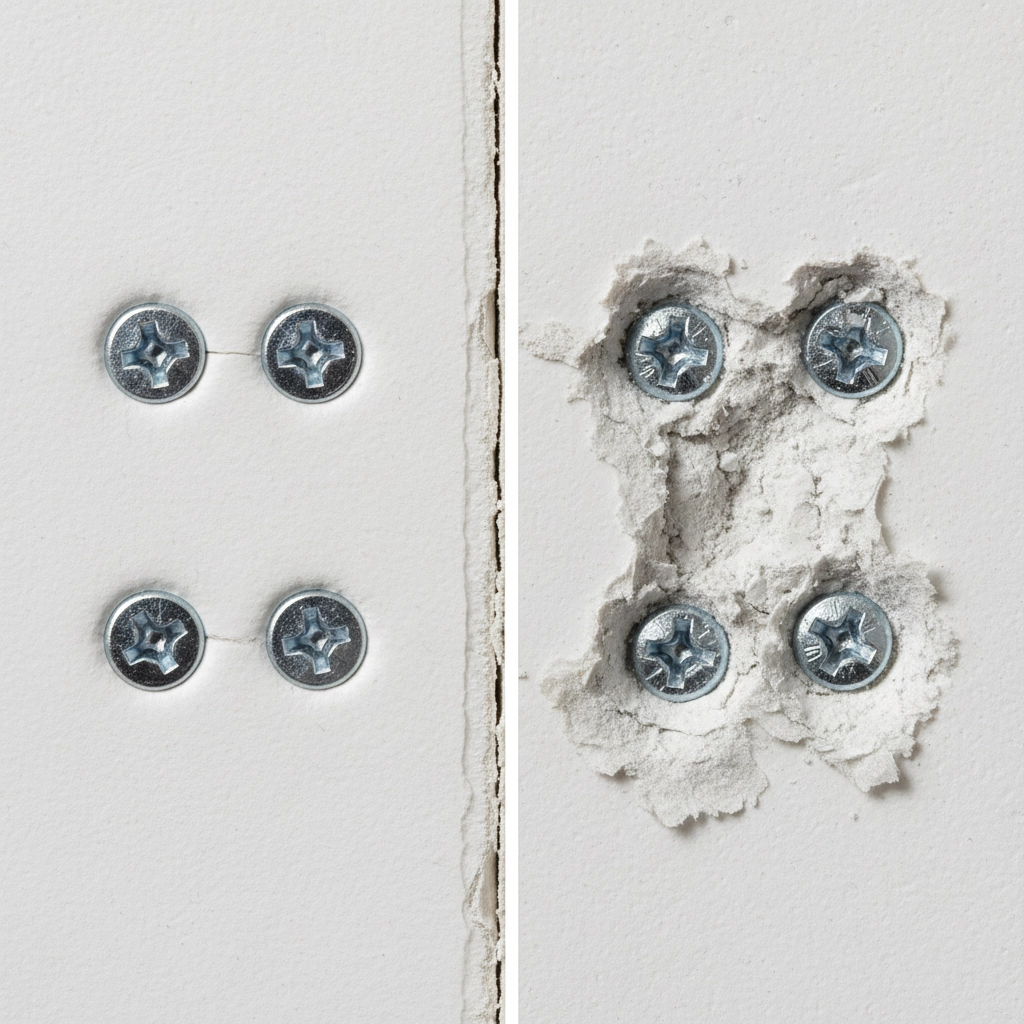
Overdriving screws represents roughly 20% of all drywall installation flaws. When you drive screws too deep, you weaken the drywall’s integrity and create dimples that telegraph through the finished surface. Conversely, screws that aren’t driven deep enough create bumps that show through paint.
The correct technique involves setting screws just below the surface – deep enough that the screw head doesn’t protrude, but not so deep that it breaks the paper face. Use a drill with adjustable torque settings to maintain consistency throughout your project.
Ignoring Proper Screw Spacing
Improper screw spacing creates weak spots that allow panels to move and crack over time. For wall installations, place screws every 16 inches along studs. For ceilings, reduce this spacing to 12 inches due to gravity’s additional stress. Neglecting to stagger joints between rows creates weak lines that are prone to failure.
Installation Without Leveling
Installing drywall without using a level creates walls that look unprofessional and can lead to structural issues. Even small variations become obvious once you install trim work or cabinets. Taking a few extra minutes to verify that your installation is plumb and level prevents expensive corrections later.
Failing to Leave Expansion Gaps
Drywall naturally expands and contracts with temperature and humidity changes. Failing to leave expansion gaps at floor lines and corners causes panels to buckle and crack. Leave a ¼-inch gap at the bottom that will be covered by baseboards, and avoid tight fits in corners where movement is most likely to occur.
III. Finishing Mistakes That Ruin the Final Result
Joint Compound Application Errors
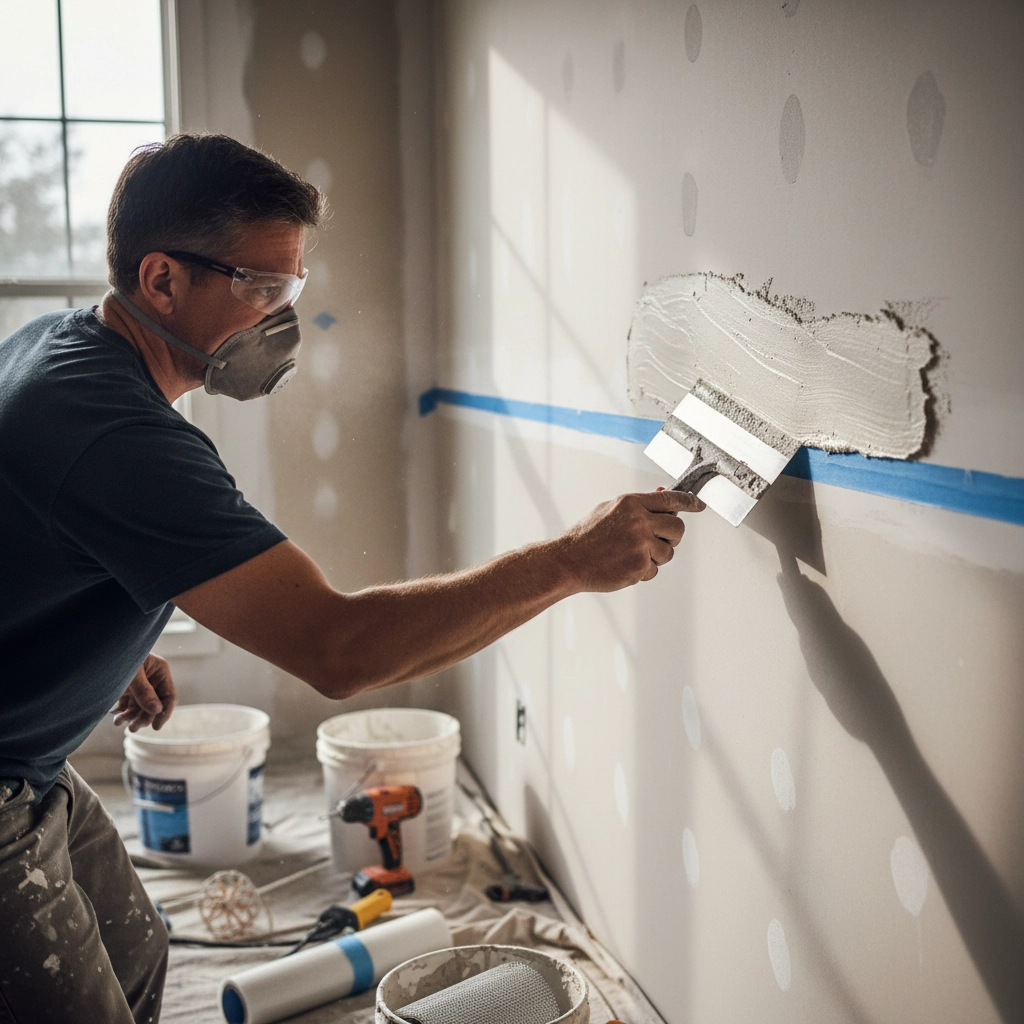
Applying too much joint compound is a common mistake that adds unnecessary weight to walls and makes sanding extremely difficult. Thick applications create bumpy, uneven surfaces that show through paint. However, applying too little compound leaves visible seams and creates a poor foundation for finishing.
The key is building up joint compound in thin, even coats. Plan for three separate applications: a base coat to fill the joint, a second coat to feather the edges, and a final coat for smoothing. Each layer should be wider than the previous one.
Aggressive Sanding Techniques
Oversanding damages the paper surface of drywall and creates fuzzy areas that absorb paint differently than the surrounding surface. Use gentle, controlled movements with fine-grit sandpaper, and position proper lighting to identify high spots without removing too much material.
Quality sanding blocks provide better control than handheld sandpaper and create more consistent results across large surfaces.
Poor Taping and Mudding Work
Inadequate taping allows joints to show through finished surfaces, particularly on ceilings where seams are more visible under certain lighting conditions. Use high-quality joint tape and ensure complete adhesion before applying subsequent coats of compound.
Paper tape provides stronger joints than mesh tape for most applications, though mesh tape works well for repairs. Avoid stretching or wrinkling tape during application, as these imperfections telegraph through the finished surface.
Skipping Primer Application
Rushing to paint without proper primer creates uneven texture and color variations across the wall surface. Joint compound absorbs paint differently than the surrounding drywall, creating a patchy appearance that screams “amateur installation.”
Use a high-quality primer specifically designed for drywall to seal the surface and provide a uniform base for your finish paint. This step is crucial for achieving professional results that look consistent under various lighting conditions.
IV. Professional Tips Los Angeles Contractors Swear By
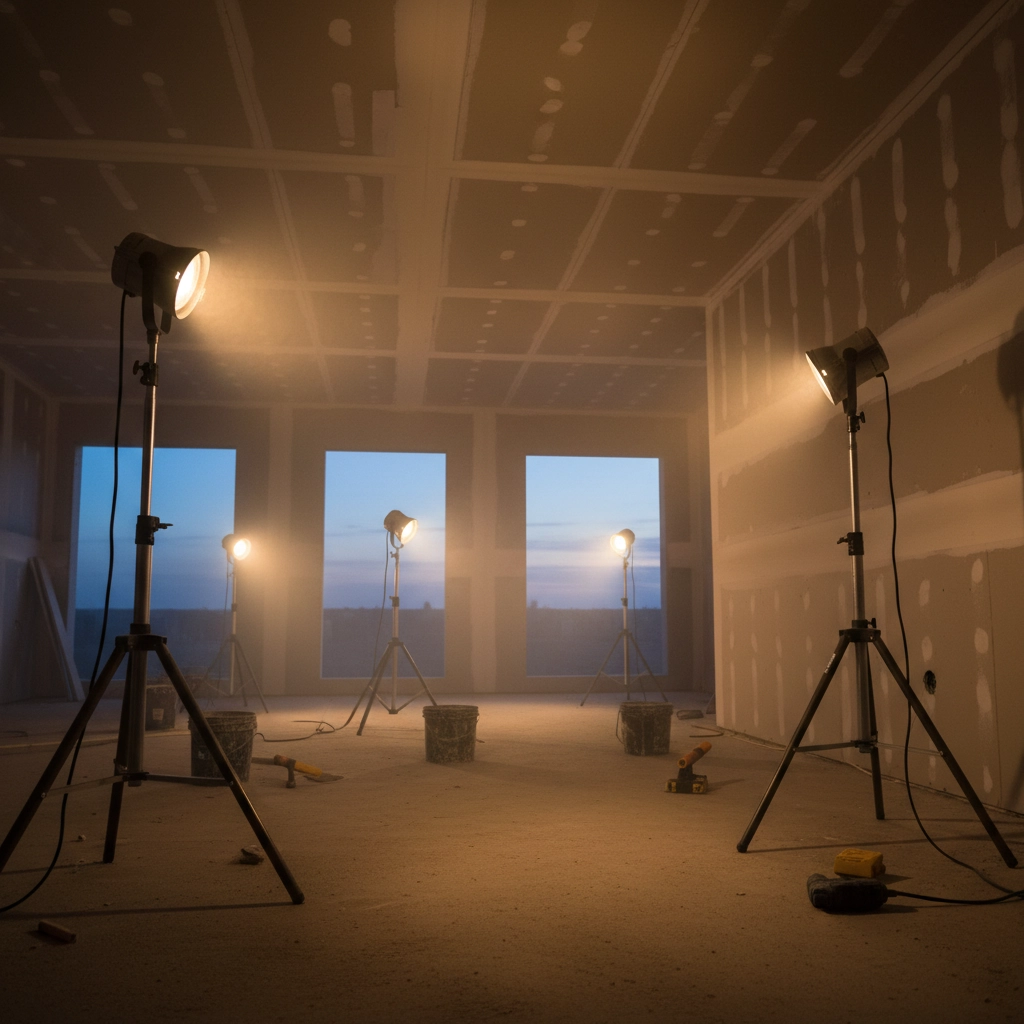
Lighting During Installation
Professional contractors use work lights positioned at different angles to identify imperfections during installation and finishing. Poor lighting hides problems that become obvious once the project is complete and the room is properly illuminated.
Set up temporary lighting that mimics the room’s final lighting scheme to catch issues while they’re still easy to fix.
Tool Selection and Maintenance
Using the wrong tools or dull cutting blades creates ragged edges that are difficult to finish properly. Invest in a sharp utility knife, quality drill bits, and appropriate-sized trowels for joint compound application. Clean tools between uses to prevent contamination and maintain sharp cutting edges.
Quality Material Investment
Cheap joint compound and tape create more problems than they solve. Professional-grade materials cost slightly more but provide better workability and longer-lasting results. The time savings alone justify the additional expense, especially for larger projects.
V. When to Call Professional Help
Recognizing Your Limitations
While many drywall projects are suitable for DIY enthusiasts, certain situations require professional expertise. Large ceiling installations, complex architectural details, and projects involving structural modifications benefit from experienced contractors who understand local building codes and advanced techniques.
The Cost of Mistakes
Attempting to save money with DIY installation can backfire when mistakes require professional correction. Poor initial installation often costs more to fix than hiring professionals from the start, especially when underlying structural issues develop.
If you’re dealing with water damage, mold concerns, or structural repairs in the Los Angeles area, professional assessment prevents health hazards and ensures proper remediation. Our team at The Drywall Patch Guys specializes in water damage restoration and can help evaluate whether your project needs expert intervention.
Key Takeaways for Successful Drywall Installation
Successful drywall installation depends on careful planning, proper material selection, and attention to detail at every stage. Small oversights during installation compound into expensive repairs, while following proven techniques produces professional-quality results that last for decades.
Whether you’re managing a project yourself or working with contractors, understanding these common mistakes helps you achieve better outcomes. Remember that quality installation takes time – rushing through any phase inevitably leads to problems that are more expensive to fix than they were to prevent.
For complex projects or when you encounter unexpected challenges, don’t hesitate to consult with experienced professionals who can guide you toward the best solutions for your specific situation.