Uncategorized
7 Mistakes Homeowners Make After a Ceiling Leak (And How to Avoid Costly Mold)

Jan
You notice a brown stain spreading across your ceiling. Maybe there’s a slow drip, or perhaps the drywall feels soft to the touch. Your first instinct might be panic: and that’s completely understandable. A ceiling leak signals water intrusion, and water intrusion can lead to one of the most dreaded words in homeownership: mold.
In this comprehensive guide, we’ll walk you through the seven most common mistakes homeowners make after discovering a ceiling leak. By understanding these pitfalls, you’ll be equipped with the knowledge to protect your home, your health, and your wallet from the devastating effects of unchecked water damage.
Let’s dive in.
I. Ignoring the Problem or Hoping It Goes Away
It’s tempting to convince yourself that a small water stain is “no big deal.” Maybe the leak stopped on its own. Maybe it was just condensation. Unfortunately, ignoring a ceiling leak is the single most costly mistake you can make.
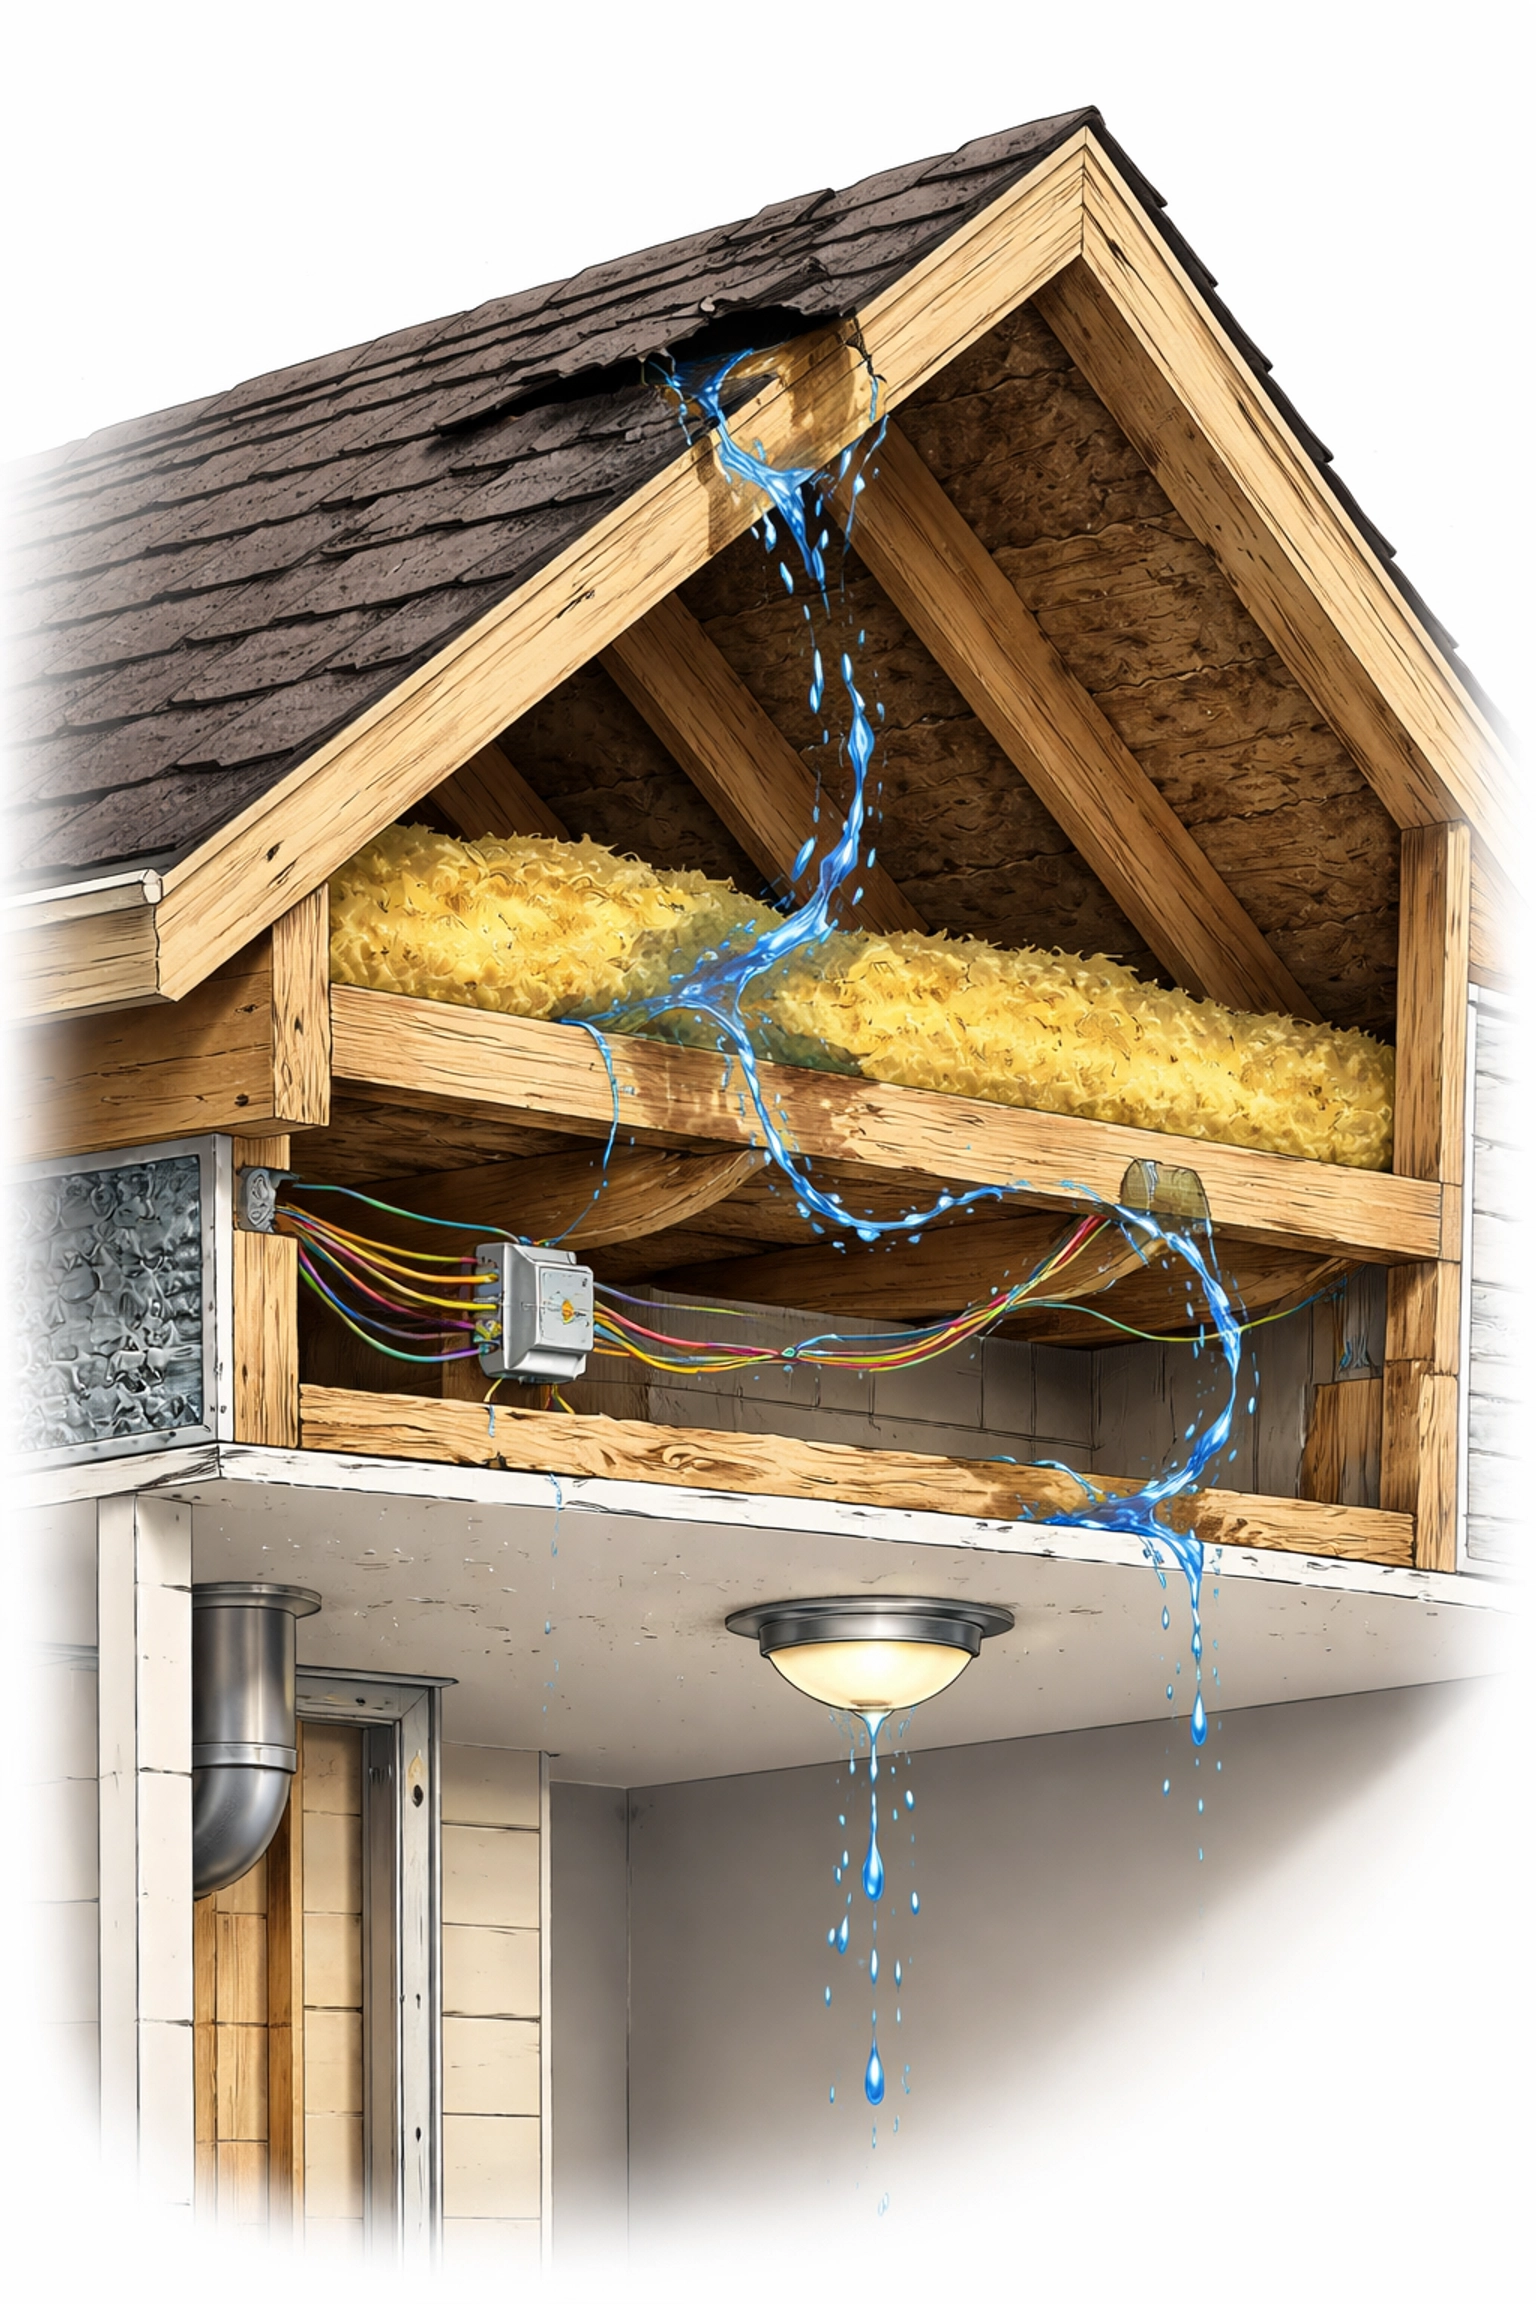
Water doesn’t simply disappear. Even when a leak appears to stop, moisture often remains trapped inside your ceiling cavity, insulation, and wall framing. This hidden moisture creates the perfect breeding ground for mold, which can begin growing within 24 to 48 hours of water exposure.
What to do instead: Take every ceiling leak seriously, no matter how minor it appears. Document the damage with photos and take immediate action to identify the source.

II. Failing to Identify the True Source of the Leak
Here’s a frustrating truth about water damage: the stain on your ceiling rarely sits directly beneath the actual leak source. Water travels along pipes, joists, and electrical conduits before pooling and dripping through. This means finding the actual source is essential but often challenging.
Common leak sources include:
- Roof damage or missing shingles
- Faulty flashing around vents and chimneys
- Burst or corroded plumbing pipes
- Overflowing toilets, tubs, or appliances on upper floors
- HVAC condensation issues
- Gaps around windows and doors
What to do instead: Conduct a thorough investigation. Check the areas directly above the stain, inspect your roof, and examine any plumbing that runs through the affected area. If the source isn’t obvious, call a professional to perform a leak detection assessment.
III. Using Temporary Solutions Instead of Permanent Repairs
We understand the impulse. You’ve got a leak, and you want to stop seeing water damage on your ceiling. So you grab some spackle, patch the drywall, and call it a day.
This approach is one of the most expensive mistakes you can make in the long run. Covering a leak with plastic sheeting or patching the interior drywall without addressing the underlying cause allows water to continue penetrating inside your walls, floors, and ceilings. The result? Harmful moisture buildup that becomes exponentially more expensive to repair later.
What to do instead: Always fix the source of the leak first: whether that means repairing your roof, replacing corroded pipes, or fixing faulty appliances. Only after the source is addressed should you move on to cosmetic repairs.
IV. Not Turning Off the Water Supply Immediately
When a plumbing issue causes your ceiling leak, every minute counts. Allowing water to continue flowing while you assess the situation or wait for a plumber multiplies the damage exponentially.
What to do instead: If you suspect a plumbing issue is causing the leak, turn off the main water supply immediately. This simple step can prevent thousands of dollars in additional damage. Know where your main shutoff valve is located before an emergency strikes.
V. Failing to Dry the Affected Area Thoroughly
You’ve found the leak, fixed the source, and mopped up the visible water. Job done, right? Not quite.
Inadequate drying is a primary cause of mold growth after ceiling leaks. Moisture trapped in drywall, insulation, and framing doesn’t evaporate on its own: especially in enclosed ceiling cavities with poor ventilation. This hidden dampness creates ideal conditions for mold colonies to thrive.
What to do instead: Use industrial fans, dehumidifiers, or natural ventilation to dry the area completely. In many cases, you’ll need to open up the ceiling to allow air circulation. A moisture meter can help confirm when materials have dried to safe levels (typically below 15% moisture content for drywall).
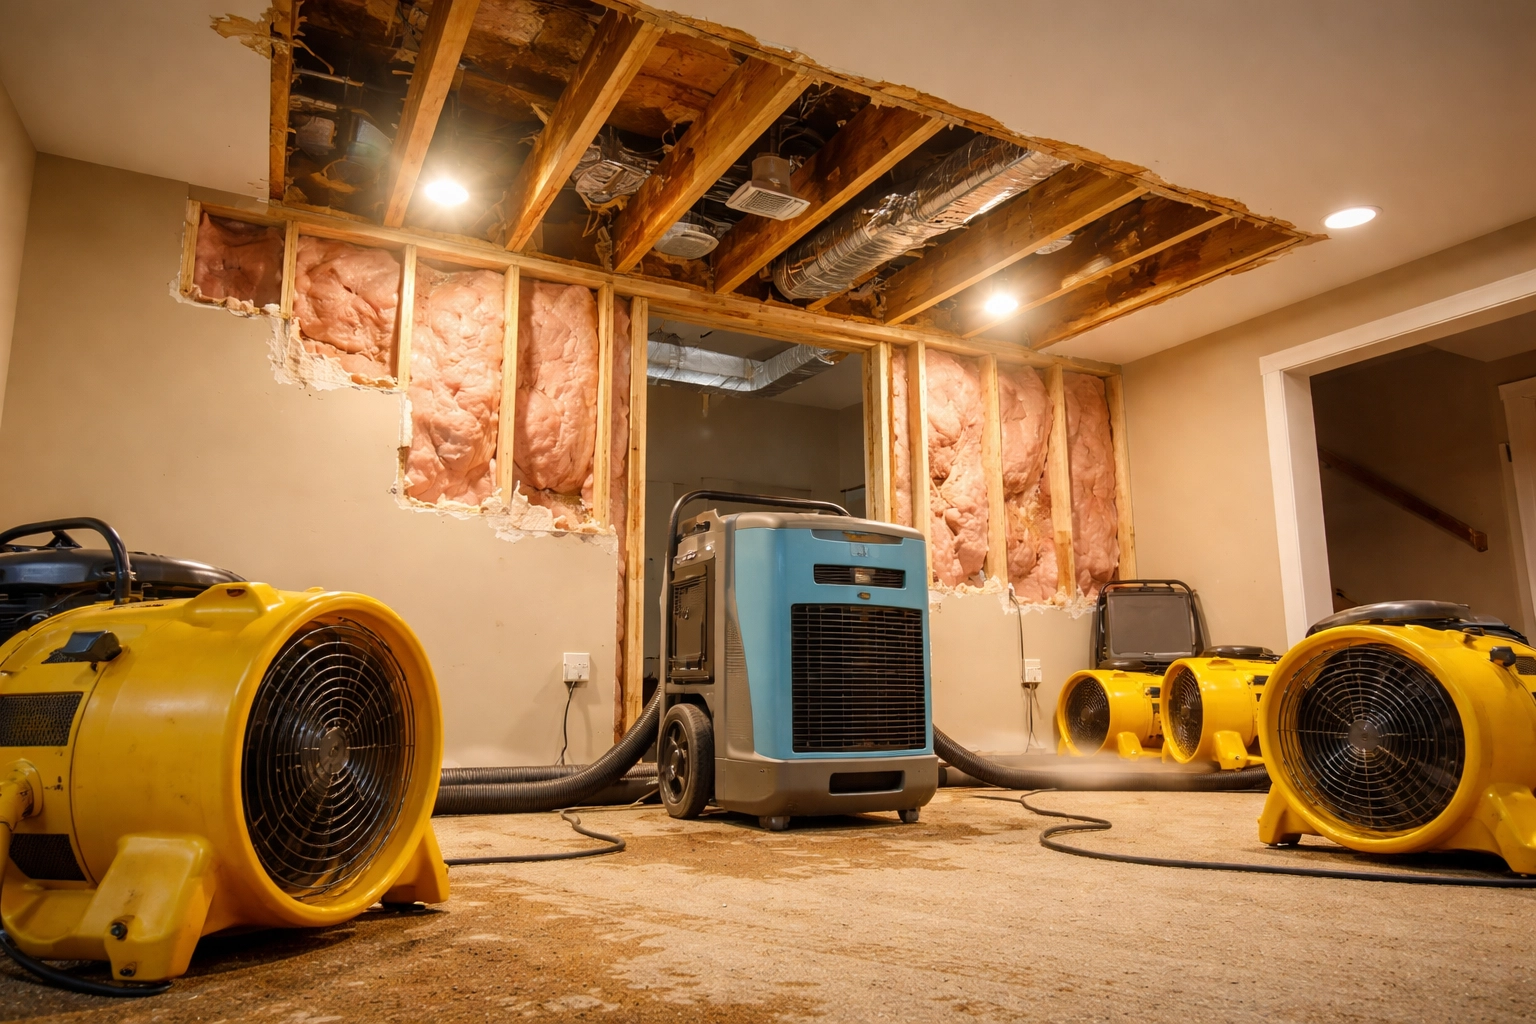
VI. Not Removing Damaged Ceiling Material Promptly
Water-damaged drywall becomes a liability the longer it remains in place. Saturated drywall loses its structural integrity, becomes a host for bacterial growth and mold, and can eventually collapse: creating safety hazards and spreading contamination.
Many homeowners hesitate to cut into their ceilings, worried about the mess or the repair costs. However, delaying removal almost always leads to more extensive damage and higher repair bills.
What to do instead: Using a utility knife, carefully remove the damaged section of drywall. Be cautious to avoid electrical wires and plumbing that may run through the ceiling cavity. If you’re uncomfortable performing this work yourself, contact a professional drywall repair service to handle the removal and restoration safely.
VII. Attempting Complex Repairs Without Professional Help
DIY culture has empowered homeowners to tackle many projects successfully. However, ceiling leak repairs: especially those involving potential mold contamination: often require expertise that goes beyond watching a few YouTube videos.
Professional assessment is crucial when dealing with:
- Leaks that have persisted for more than 24-48 hours
- Visible mold growth of any size
- Musty odors in the affected area
- Large areas of water damage (greater than 10 square feet)
- Uncertainty about the leak source
What to do instead: Know your limits. While you can certainly handle initial mitigation steps like turning off water and setting up fans, complex repairs should be left to professionals who have the proper equipment, training, and insurance to handle water damage restoration safely.
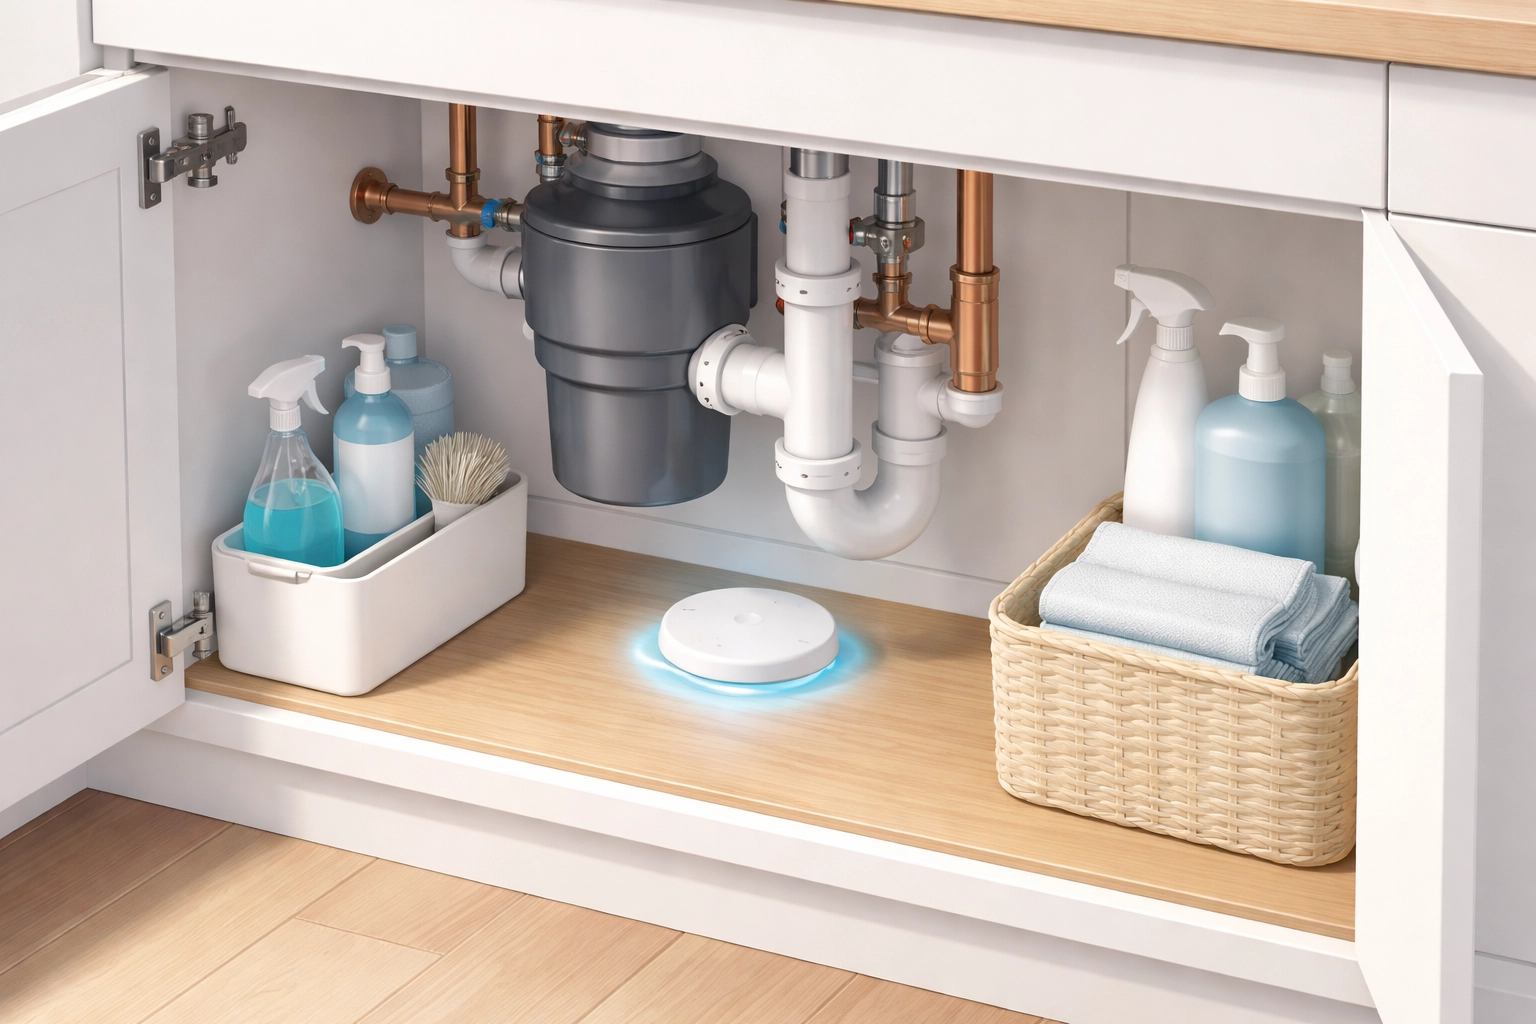
How to Prevent Mold After a Ceiling Leak
Beyond avoiding these seven mistakes, here are proactive steps to minimize mold risk:
- Act within 24-48 hours – Mold needs time to colonize. Quick action is your best defense.
- Install moisture sensors – Place sensors under upstairs sinks, dishwashers, and washing machines to catch leaks before they reach your ceiling.
- Maintain proper humidity levels – Keep indoor humidity below 60% (ideally 30-50%) using dehumidifiers or air conditioning.
- Schedule regular inspections – Have your roof, plumbing, and HVAC systems inspected annually to catch potential problems early.
- Ensure proper ventilation – Bathrooms, kitchens, and laundry areas need adequate ventilation to prevent moisture buildup.
Frequently Asked Questions
How quickly does mold grow after a ceiling leak?
Mold can begin growing within 24 to 48 hours of water exposure. This is why immediate action after discovering a leak is so important.
Can I just paint over a water stain on my ceiling?
Painting over a water stain without addressing the underlying moisture and damage will likely result in the stain bleeding through again: and worse, it may trap moisture that leads to mold growth.
How do I know if there’s mold behind my ceiling?
Signs of hidden mold include musty odors, worsening allergy symptoms when at home, and visible mold growth around the edges of water damage. A professional mold inspection can provide definitive answers.
Should I file an insurance claim for ceiling leak damage?
Document all damage thoroughly with photos and notes. Many homeowner’s policies cover sudden water damage (like burst pipes) but may not cover gradual leaks or maintenance-related issues. Contact your insurance provider to understand your coverage.
How much does professional drywall repair cost after water damage?
Costs vary based on the extent of damage and your location. Getting multiple quotes from reputable contractors ensures you receive fair pricing.
Take Action Today
A ceiling leak doesn’t have to turn into a mold nightmare. By avoiding these seven common mistakes and taking swift, appropriate action, you can protect your home and your family from costly damage.
If you’re dealing with water-damaged drywall in Orange County, The Drywall Patch Guys are here to help. Our experienced team specializes in water restoration and drywall repair services throughout the region. Contact us today for a free assessment and get your home back to perfect condition.